Where to Place Outdoor Security Cameras for the Best Coverage
Learn the best height, angle and spots for outdoor security cameras, how to cover every entry point and avoid glare, with a simple placement checklist.
 Save
The best spot for an outdoor camera is usually 8 to 10 feet up, angled slightly down, covering the path people take to your doors rather than just the doors themselves. Start with each entrance, test the view day and night, and check Wi-Fi and power before you drill.
Quick answer
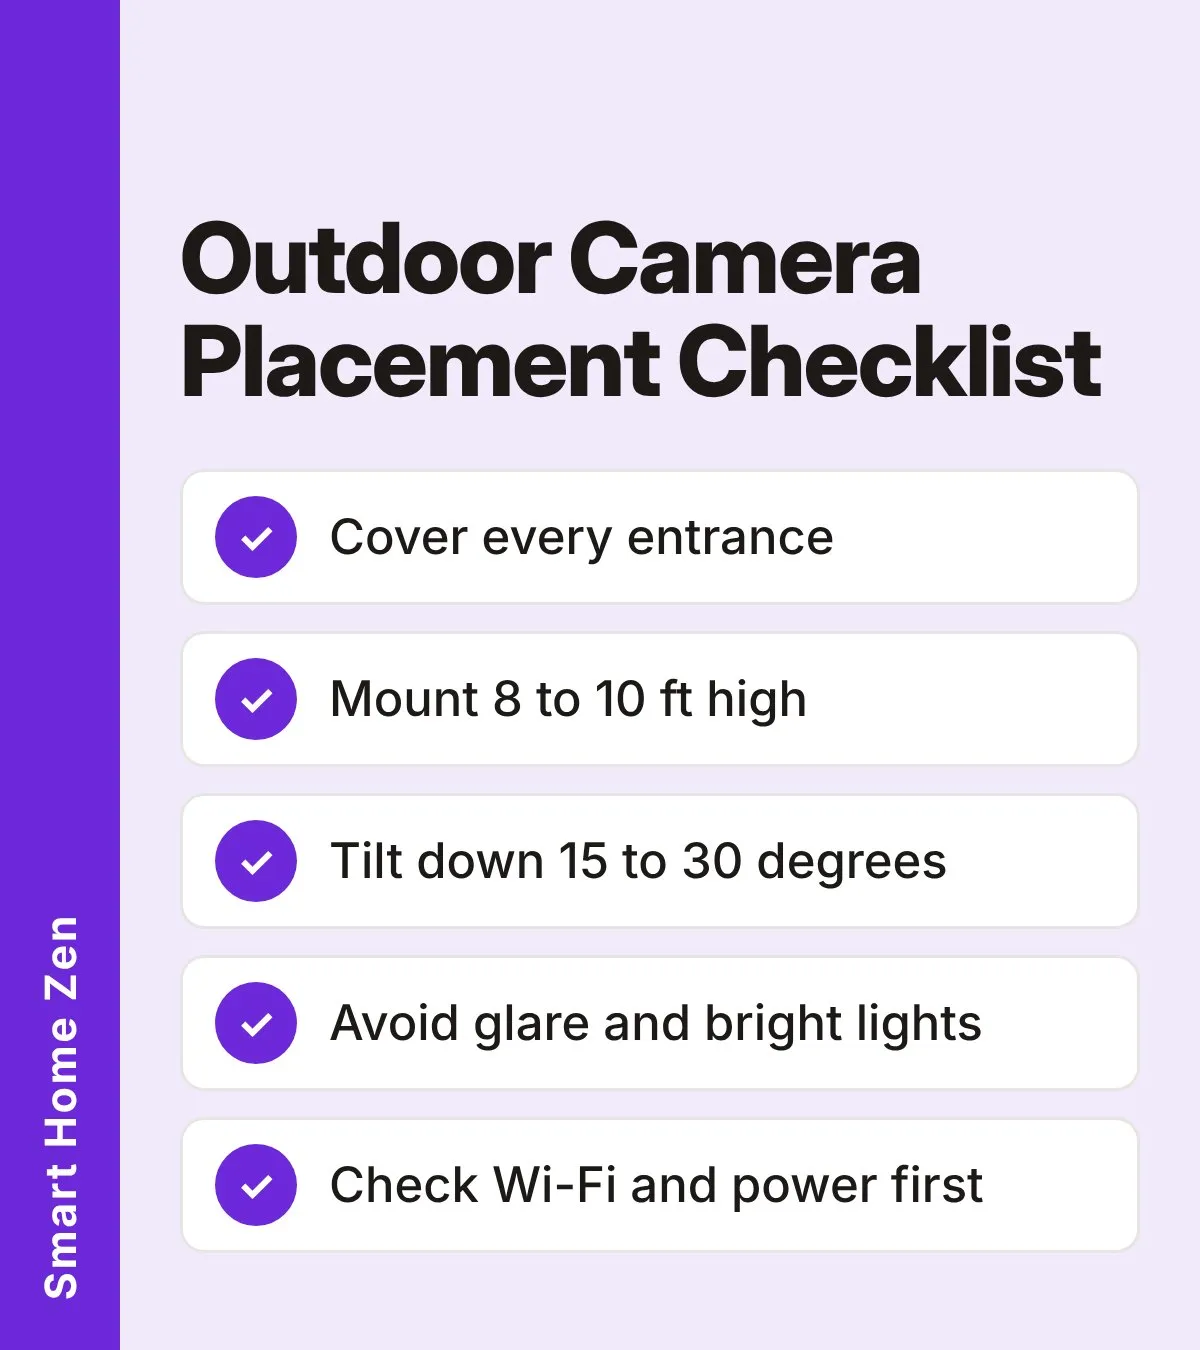
- Mount cameras about 8 to 10 feet (2.5 to 3 m) high, tilted down roughly 15 to 30 degrees.
- Put one camera on each entrance: front, back, and a driveway or side access.
- Keep the camera within about 5 to 20 feet (1.5 to 6 m) of the area you want motion detection to watch.
- Avoid pointing straight at bright lights, glass or wet pavement.
- Confirm signal and power at each spot first.
Start with the entry points
Walk around your home and list every way in: front door, back door, garage door, ground-floor windows and any side gate. Then trace the route someone would take to reach each one, such as the walkway, driveway or side path. A good camera view covers that approach, not just the doorstep.
For the front door, aim to capture the package area, the threshold and a visitor’s face in one frame without the porch roof or door frame blocking any of it. Many manufacturer guides suggest two to three outdoor cameras for a typical home, with one per entrance.
Height and angle
Mount height is a trade-off. Too low and a camera is easy to reach or knock aside. Too high and you mostly see the tops of heads.
| Setting | Starting point | Why it matters |
|---|---|---|
| Height | 8 to 10 ft (2.5 to 3 m); some brands say at least 7 ft | Out of easy reach, still gives a usable view of faces |
| Downward tilt | About 15 to 30 degrees | Covers the ground approach instead of the sky |
| Distance to subject | About 5 to 20 ft (1.5 to 6 m) for motion detection | Motion sensors lose accuracy when the target is too far |
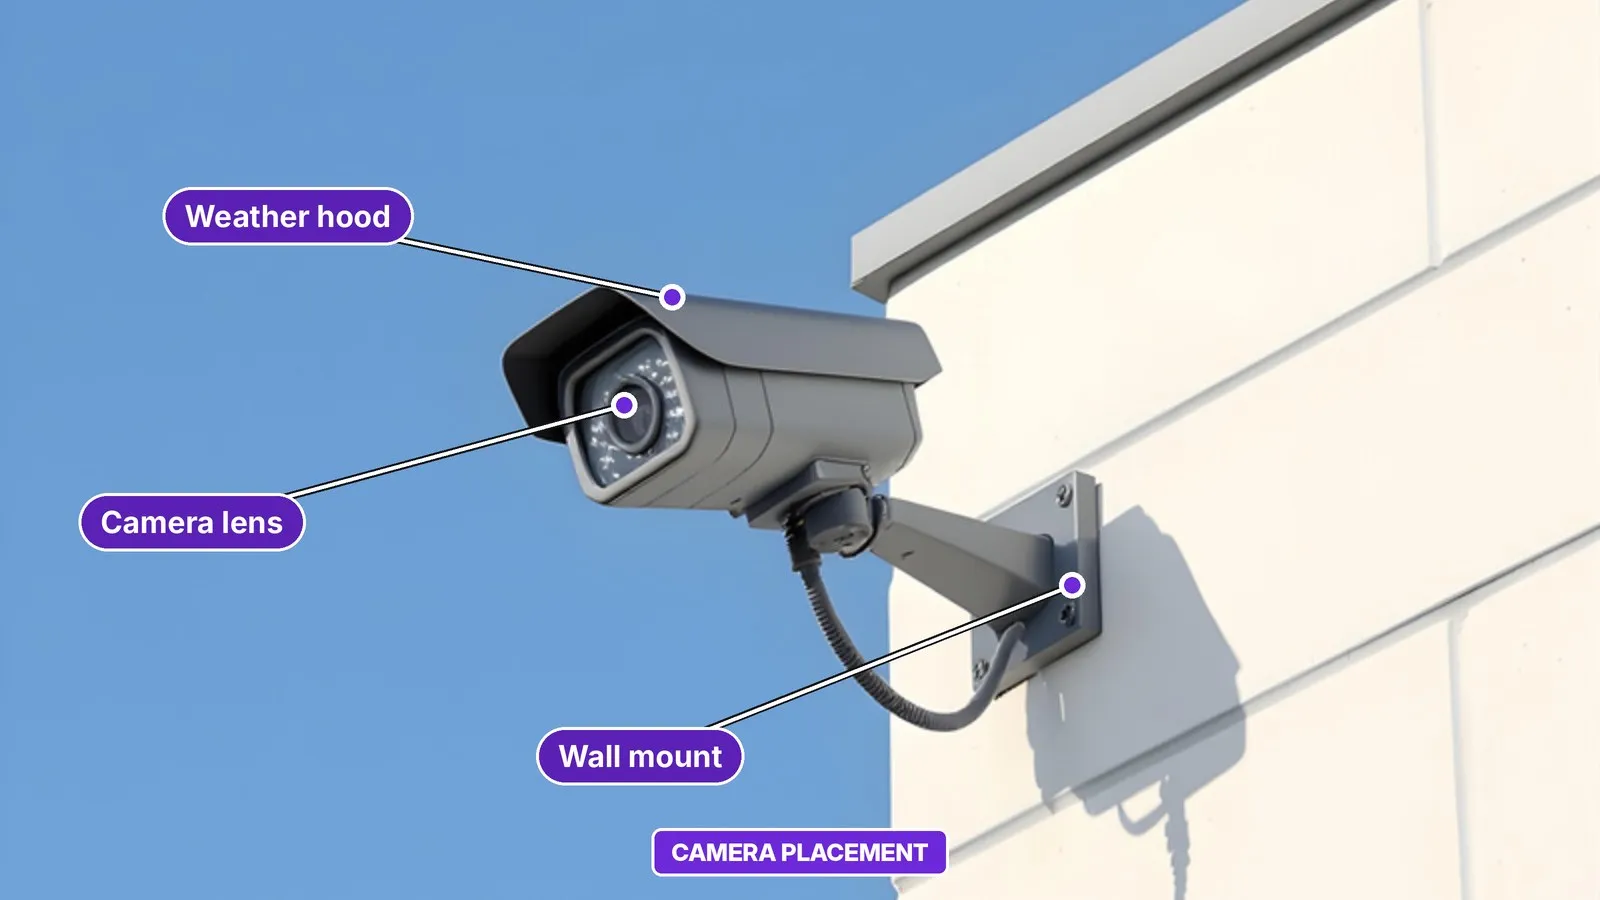
| Lens position | Under an eave, offset from lights | Reduces rain on the lens and glare |
These numbers are starting points, not standards. Check the instructions for your own model, since field of view and sensor range differ.
Cut down glare and bad lighting
Many “bad camera” problems are really placement problems.
- Test in daylight and after dark. Backlight from the sky, a doorway or a porch light can turn faces into silhouettes.
- Offset the camera from lights. Mounting right above or below a bright fixture can wash out the picture.
- Watch glass and wet pavement. Reflections can cause glare or false triggers.
- Avoid shooting through a window. Glass can block infrared motion detection, and night vision can bounce back off the pane.
- Check headlights. Test the view with porch lights or car headlights on.
If night video is poor, check that nothing sits close to the lens and that no bright light or reflective surface is in view.
Check Wi-Fi and power before you drill
A great angle is useless if the camera cannot stay connected. Test your Wi-Fi signal at the exact spot with a phone before mounting. If the signal is weak, a wired option may suit that location better, and our Wi-Fi vs PoE comparison explains the trade-offs. If a camera already drops offline, work through why a security camera keeps going offline.
Also confirm how the camera is powered:
- Plug-in or wired: needs an outlet or cable run within reach.
- Battery: needs a spot you can reach to recharge.
- Solar: needs direct sunlight on the panel. Some solar models also need a 2.4 GHz Wi-Fi signal.
- Floodlight models: may need an AC junction box.
Step-by-step: place your camera
Use this order when you install a new camera so you catch problems before the screws go in.
| Step | What to do |
|---|---|
| 1 | Pick the target. Decide what the camera must see: a door, a driveway, a gate or a side path. One clear goal per camera gives a better view than trying to cover everything. |
| 2 | Hold it up first. Ask a helper to hold the camera at the planned height while you check the live view on your phone. Walk the full route to confirm eaves, parked cars, open doors or branches do not block the frame. |
| 3 | Check the edges. Look at what else is in the frame. If it shows a neighbor’s window or the public street, adjust the angle or trim it with privacy zones. |
| 4 | Test the signal and power. Confirm the camera connects at that exact spot and that a cable, outlet, battery swap or solar panel placement is realistic. |
| 5 | Mount and re-test. Fix the mount, then repeat the day and night tests. Walk in front of the camera to check that motion alerts arrive. |
Fixed view or tracking camera?
Use a fixed view for doors, windows and garage doors, where people arrive at a known spot. Consider a camera that pans or tracks only when people or vehicles regularly cross a wider area, such as a large yard. Tracking models cost more and add moving parts, so a well-aimed fixed camera is often the simpler choice.
Visible or hidden?
Visible cameras, especially models with a built-in spotlight, can deter intruders. One manufacturer quoted in a review said it has no data showing visible or hidden placement is better, so base the decision on coverage and image quality rather than on hiding the camera. Smart lights that switch on with motion can add to the deterrent, for example near a package drop-off spot.
Plan for seasons and weather
A one-time walk-through cannot predict every condition. Trees that are bare in winter can block the view in summer, and low sun at certain times of year can cause glare. Repeat your tests after storms, when foliage changes and when lighting changes. Review the frame again and adjust.
Privacy and neighbors
Placement is also about being a good neighbor and respecting the law.
- Keep cameras out of bedrooms, bathrooms and changing areas.
- Avoid aiming into a neighbor’s home or yard.
- Preview the frame before installing and use privacy zones to trim edges.
- Tell household members and guests where cameras are.
- Check the rules that apply where you live, including state, local or HOA rules, since they vary.
Common mistakes
- Covering only the front door and leaving the back and side open.
- Mounting at head height where it can be covered or knocked off.
- Aiming at a bright light or toward the sunrise or sunset.
- Skipping the Wi-Fi and power check.
- Never testing alerts. Walk in front of each camera to confirm it detects you.
Safety
Use a stable ladder on firm ground and ask someone to hold it. Switch off power at the breaker before working on any wired or mains-powered fixture. If you need to open walls, run new circuits or work near overhead lines, hire a licensed electrician.
Sources
 Save
Frequently asked questions
How high should I mount an outdoor security camera?
A common starting point is 8 to 10 feet (about 2.5 to 3 m) off the ground, tilted down roughly 15 to 30 degrees. Treat it as a starting point and adjust until the approach path fits the frame.
How many outdoor cameras does a house need?
Many guides suggest one camera per entrance, such as the front door, back door and a driveway or side entrance. Two to three cameras cover most homes.
Can I point my camera at the street or a neighbor's yard?
Keep the view on your own property where you can. Avoid aiming into a neighbor's home or yard, use privacy zones to trim the edges, and check the rules in your area or HOA.
Should I hide my security cameras?
Visible cameras can deter intruders, especially models with a spotlight. There is no firm data that hidden cameras work better, so choose a spot based on coverage and view.