Security Camera Night Vision Not Working? Causes and Fixes
Night vision black, washed out or grainy? Check the lens, glare, power, settings and mounting spot in order, and fix your camera after dark.
 Save
Security camera night vision usually fails for simple reasons: a dirty lens or infrared (IR) light, glare bouncing off something too close, a camera shooting through glass, weak power, or a night mode setting that is not on Auto. Work through the checks below from easiest to hardest, and most cameras recover without any repair.
Quick answer
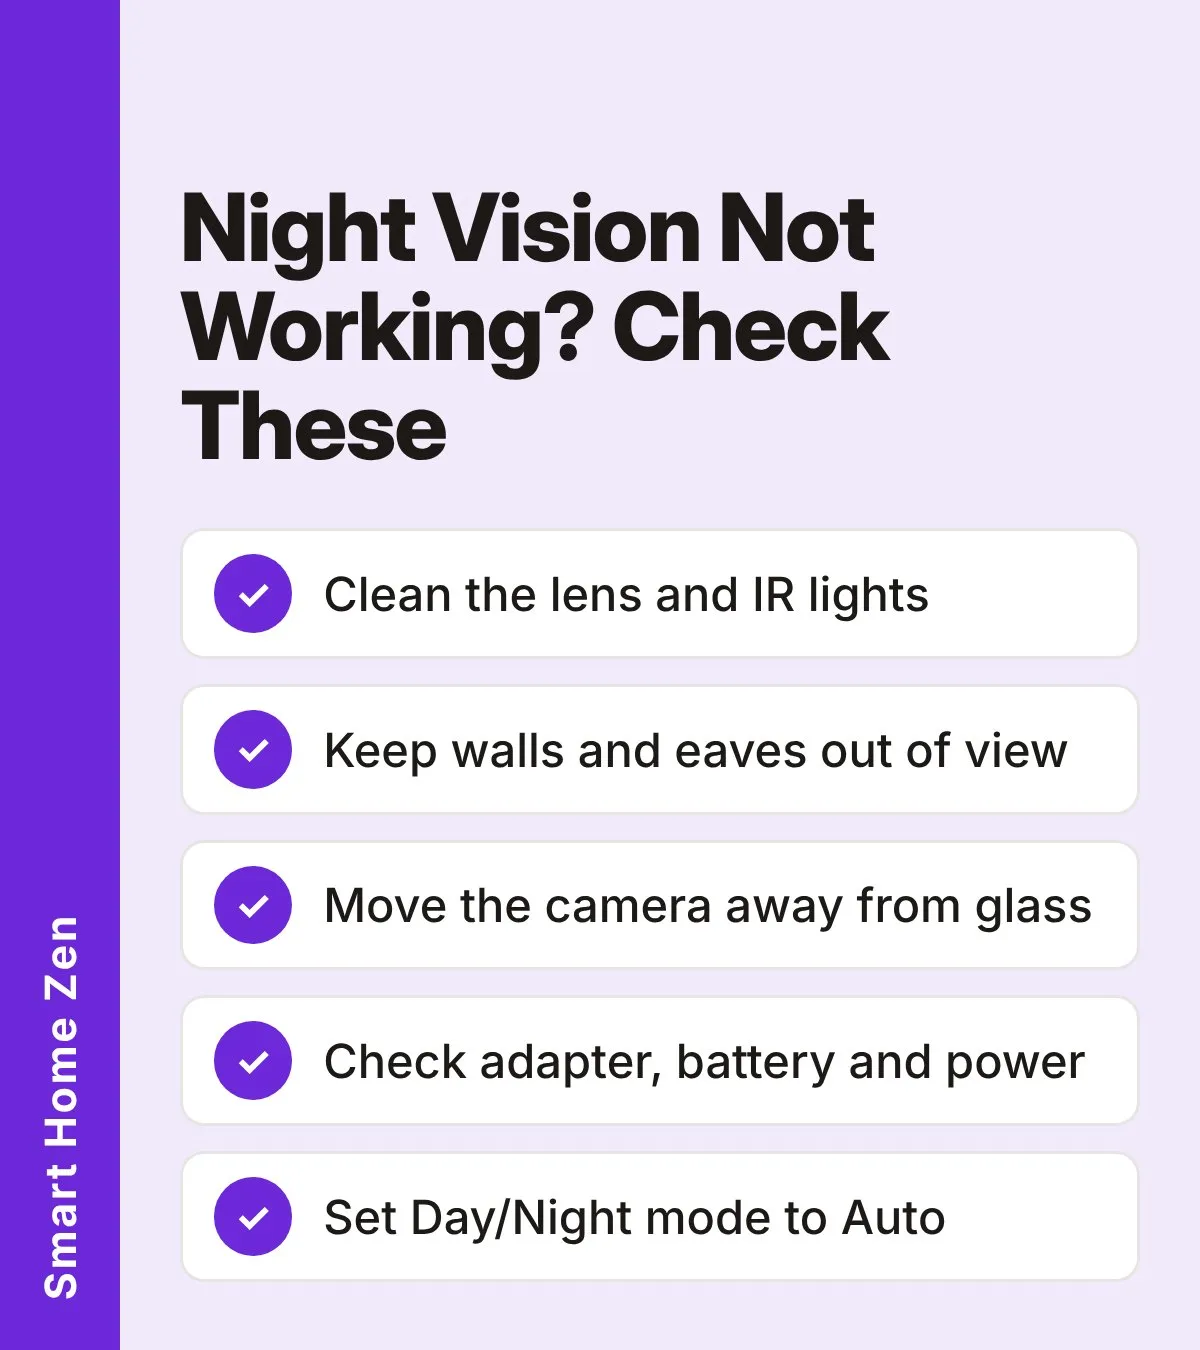
Do these first, since they fix most night vision problems:
- Wipe the lens and the small IR lights around it with a soft, clean cloth.
- Look at the night picture in the app and check whether something close to the camera is lit up bright white.
- Make sure the camera is not pointed through a window.
- Set the night mode (often called Day/Night or IR Cut mode) to Auto.
- Check that the camera has full power: a solid adapter, a charged battery or enough power from the recorder or switch.
How night vision works
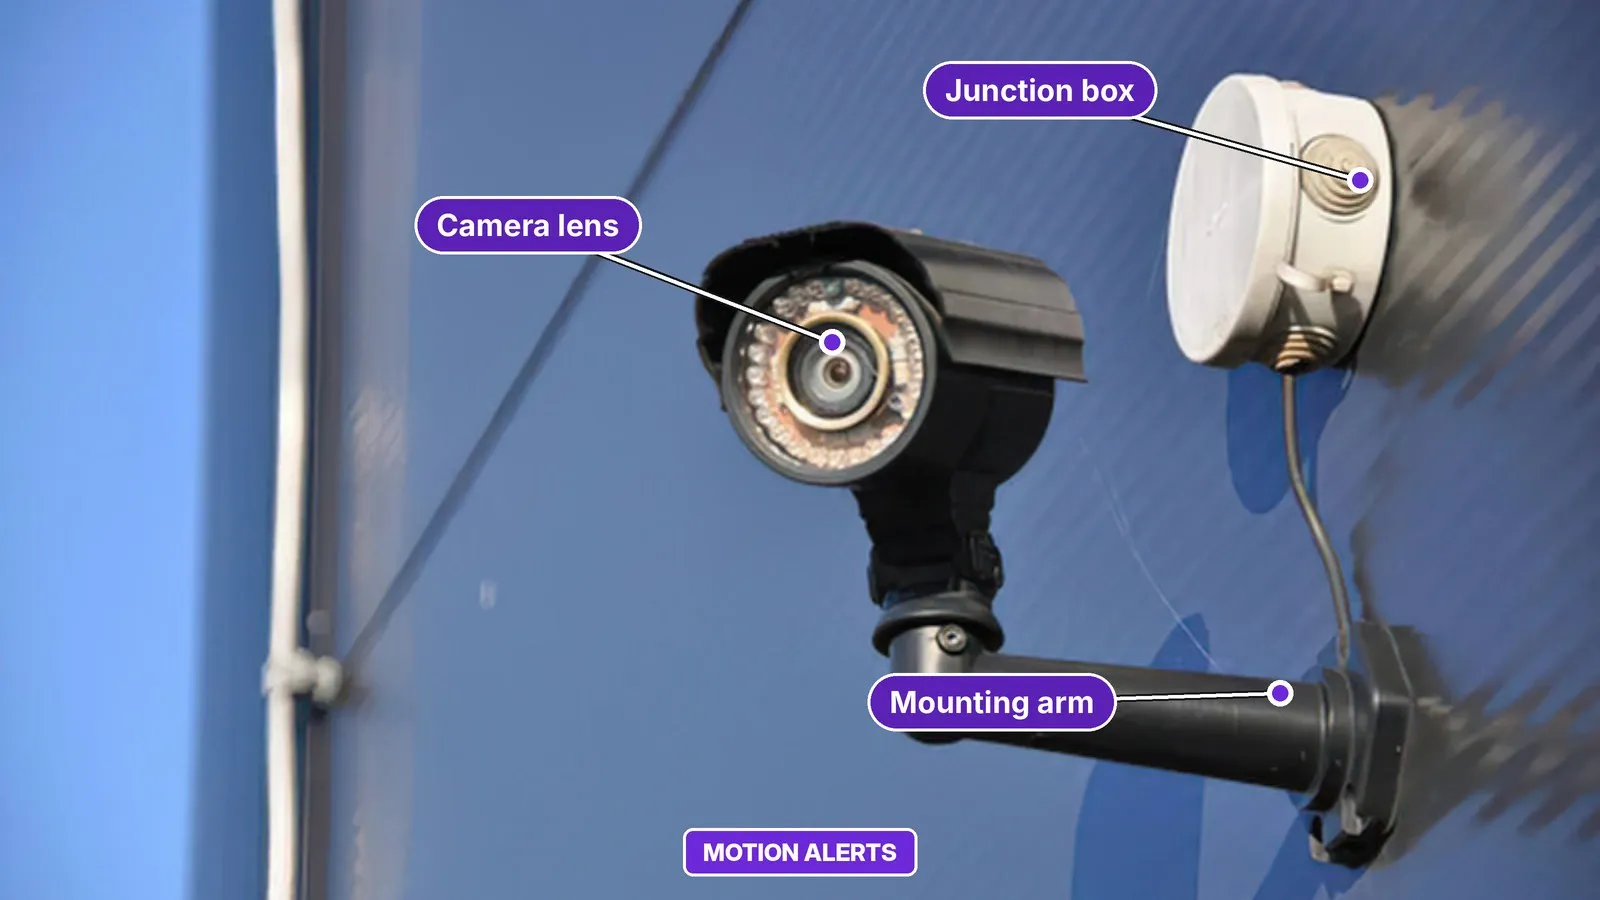
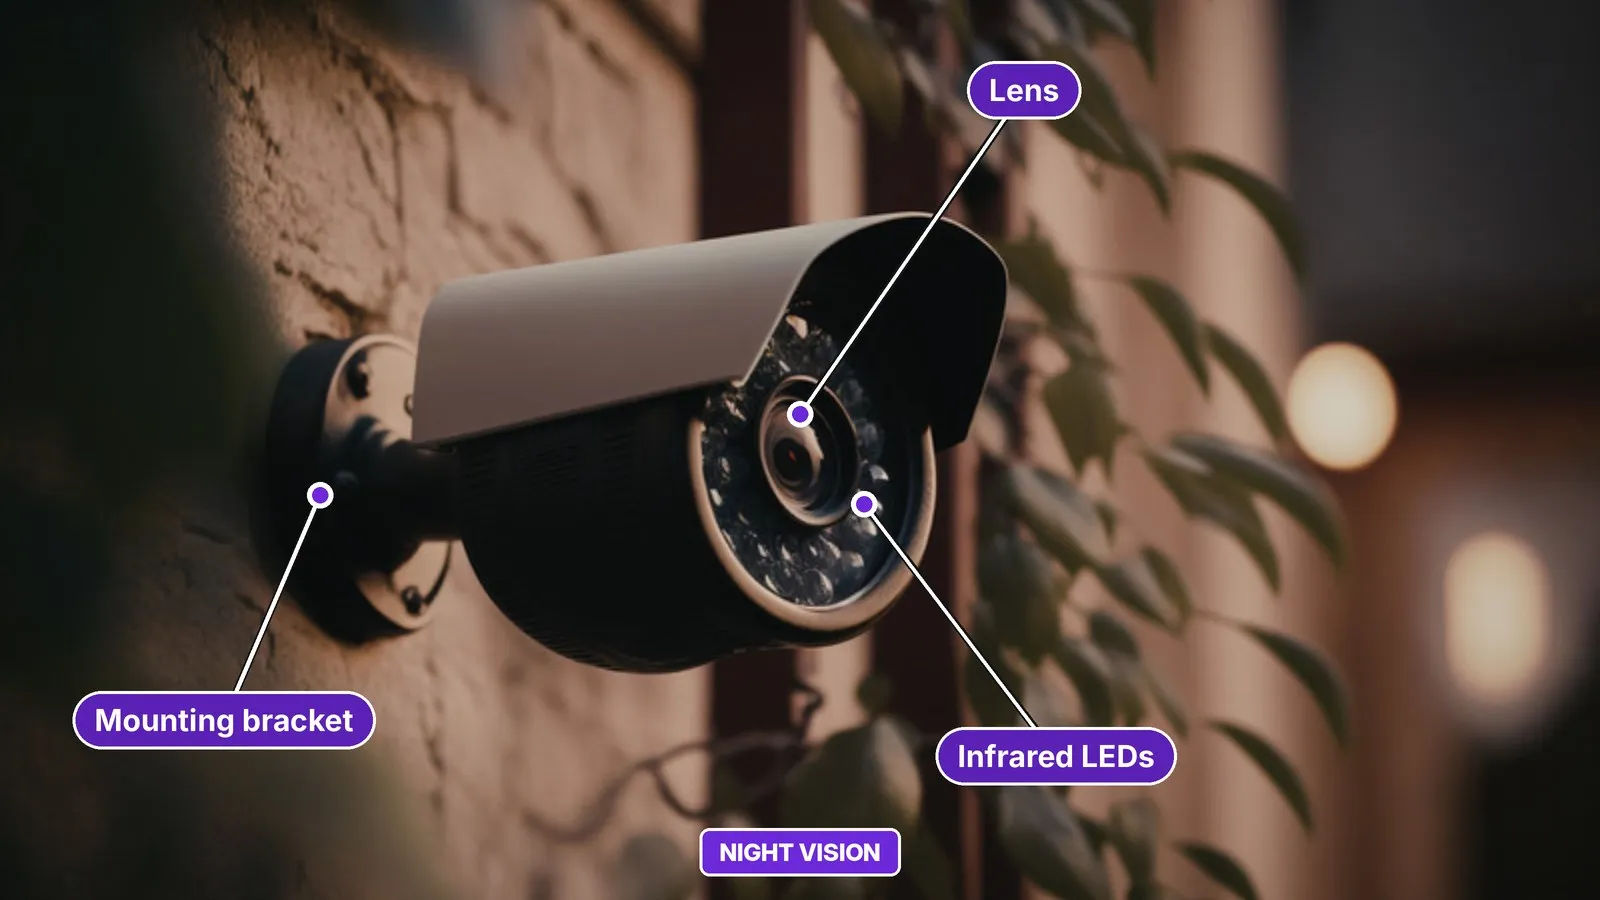
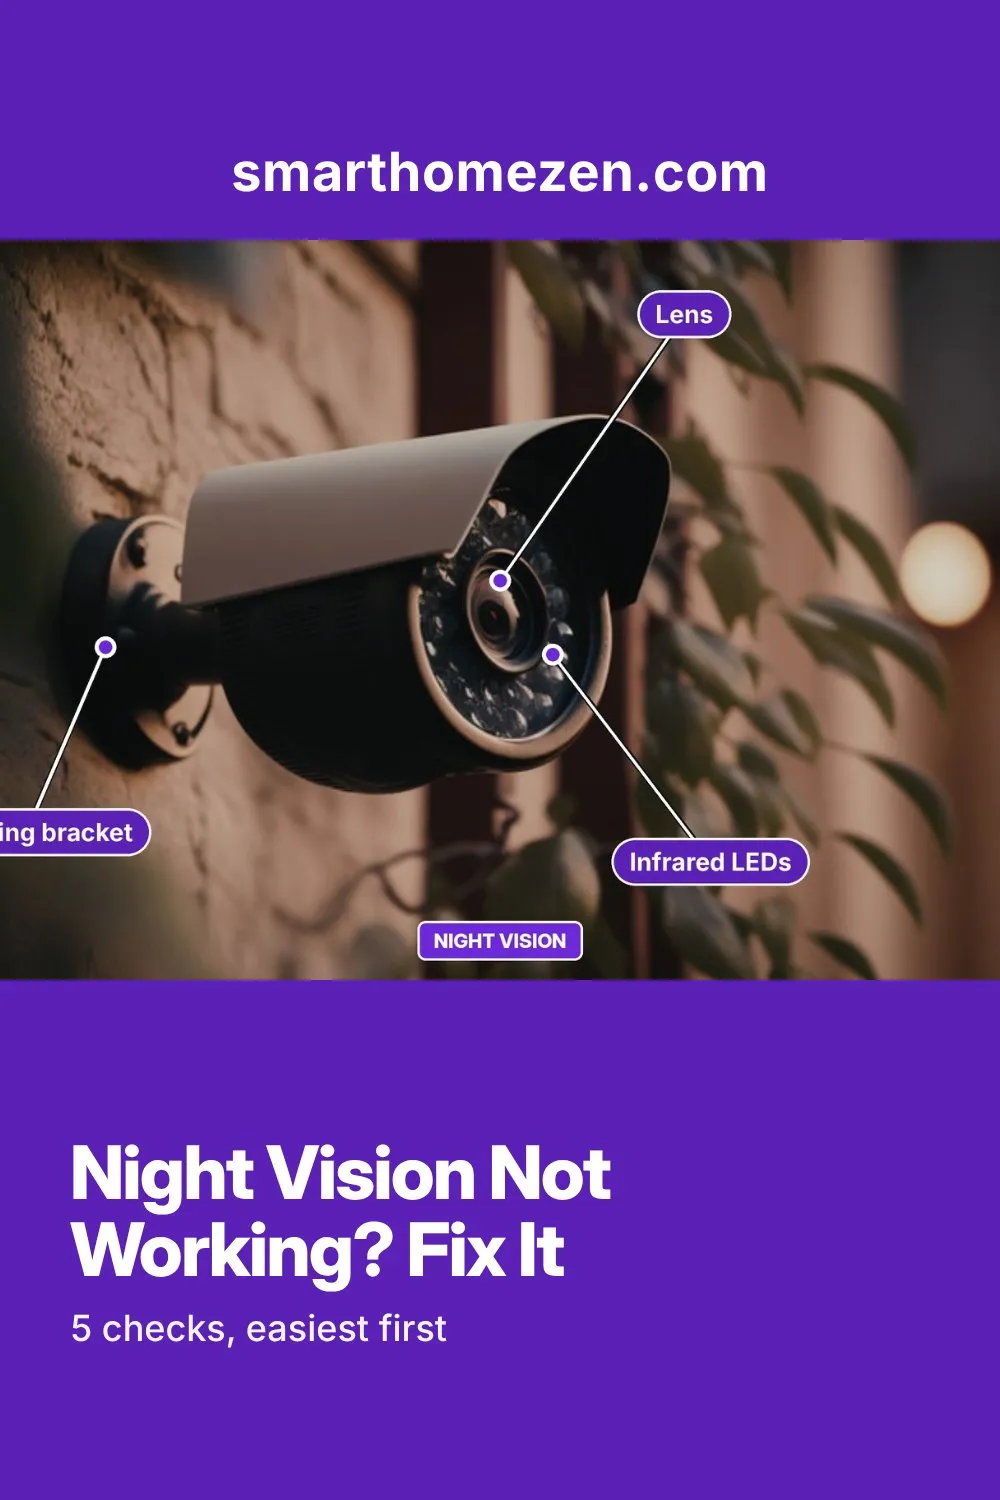
At night most security cameras switch on small infrared LEDs, usually a ring or row of dots near the lens. You cannot see this light, but the camera can, so it shows a black and white picture. A small mechanical filter, the IR cut filter, moves out of the way for night and back in for daytime color. If the lights, the filter or the lens are not doing their jobs, night footage turns dark, grainy or washed out.
What causes night vision problems
Manufacturer support pages and security guides describe a similar list of causes. Use the table to match what you see with the likely cause.
| What you see | Likely cause | First fix |
|---|---|---|
| Hazy, foggy or blurry picture | Dust, cobwebs, smudges or water on the lens or cover | Clean the lens and IR lights; check for moisture behind the glass |
| Bright white blob, dark background | Wall, eave, tree or light too close to the camera | Re-aim or move the camera |
| Washed-out, glowing picture | Camera behind a window, or IR too strong | Move the camera outside the glass; lower IR strength if offered |
| Far areas completely dark | Subject is beyond the IR range | Move the camera closer or add a light |
| Dim picture, IR lights weak or off | Not enough power | Check adapter, battery, cable length and power source |
| Grainy picture, no switch to night mode | Stuck IR cut filter or wrong setting | Set Day/Night to Auto; run the filter test below |
| Red or purple tint | IR cut filter not switching properly | Test the filter and contact support if it fails |
What you need
- A microfiber cloth and, if needed, lens cleaning solution (avoid harsh chemicals and paper towels, which can scratch).
- A dry, stable ladder or step stool if the camera is mounted high.
- Your camera’s app or recorder menu.
- A second person, or a phone showing the live view, to check the picture while you adjust the camera.
Step-by-step: fix night vision
| Step | What to do |
|---|---|
| 1 | Clean the lens and IR lights. Dust, cobwebs, oil and water stains reflect IR light back into the lens and blur the picture. Insects building webs over the IR lights are a common reason night vision gets worse in summer. Wipe gently with a microfiber cloth and clear any webs. |
| 2 | Look for moisture. If you see water droplets inside the glass, do not open the camera. Moisture behind the lens needs a check by the maker’s support team. |
| 3 | Remove glare sources. Walls, eaves, trees and light fixtures close to the camera reflect IR light and make the rest of the picture go dark. Tilt the camera or move it so those surfaces are out of the view. One guide suggests keeping cameras at least 3 feet (about 0.9 m) from walls and tilting them 15 to 30 degrees downward. |
| 4 | Move away from glass. A camera behind a window picks up its own IR light reflecting off the pane. Mount it outside, or turn off the IR if your model allows it and use a room light instead. |
| 5 | Check the range. Night vision only reaches so far. Check your model’s stated IR range and bring the camera closer to the area you want to watch, or add a separate light. Typical ranges quoted by one guide are 10 to 30 m (about 33 to 98 feet). |
| 6 | Check the power. Underpowered IR lights come on dimly or only partly. For wired cameras, check cable length against the adapter’s rating, avoid power splitters, and try a different adapter with the same output rating. For recorder-powered cameras, make sure the recorder or switch can supply enough power. For battery cameras, charge them fully; one manufacturer advises charging for at least 4 hours if the battery is below 20%. |
| 7 | Set the night mode correctly. In the app or on-screen menu, set the IR Cut or Day/Night mode to Auto. If a menu offers IR intensity, a starting point of about 50% is suggested, then adjust. If there are no such controls, try brightness and contrast. |
| 8 | Test the IR cut filter. In daylight, cover the lens so no light gets in. A working camera should switch to night mode with the IR lights on, and some models make a faint click. If it never switches, contact the maker with a short video and the mounting location. |
| 9 | Update firmware and restart. Install any camera update in the app, then power-cycle the camera by unplugging it for about 20 seconds. If it is still wrong, a factory reset is the last step before support. |
Common mistakes
- Cleaning with paper towels or harsh chemicals, which can scratch the lens or cover.
- Aiming the camera at a nearby wall or pillar “to see more” and then losing the rest of the scene.
- Mounting a camera inside a window because it is easier than going outside.
- Using a weak or mismatched power adapter, or one with too many cameras on a splitter.
- Turning IR to maximum. Too much IR can wash out close objects.
- Ignoring the lens until a problem shows up. One guide suggests a monthly clean.
For help choosing the right height and angle from the start, see where to place outdoor security cameras. If the camera also drops its connection at night, read why your security camera keeps going offline.
When to call a professional or the maker
Contact support if there is moisture inside the housing, the IR lights are dead after a power check, or the IR cut filter will not switch. For high mounting points, wiring changes or anything near mains power, use a qualified installer. Stay off ladders in wet or windy weather, and switch the camera’s power off before touching any wiring.
Sources
 Save
Frequently asked questions
Why is my security camera night vision blurry or foggy?
Dust, cobwebs, smudges or water drops on the lens or the glass in front of it reflect the infrared light straight back into the camera. Clean the lens and the clear cover with a soft cloth, and check for moisture behind the glass.
Why does my camera show a bright white blob at night?
A wall, eave, tree or light fixture close to the camera bounces the infrared light back and fools the camera into exposing for it. Re-aim the camera or move it so nearby surfaces are out of view.
Can a security camera see through a window at night?
Usually not well. The infrared light reflects off the glass and washes out the picture. Mount the camera outside, or turn the infrared off and rely on a light in the room if the camera allows it.
How far can night vision see?
It depends on the model. Manufacturer specs vary widely, and one maker lists ranges from about 130 to 150 feet (40 to 45 m) for some cameras. Anything beyond the stated range will look dark.